How To
How to quickly set up end-to-end encryption for your Thunderbird email account

- August 29, 2022
- Updated: July 2, 2025 at 3:29 AM
The latest version of Mozilla’s Thunderbird now supports leading-edge end-to-end encryption, and this feature is fully integrated into its main application. The new encryption tool is good news for those who use the service because the recent integration means the application no longer requires add-ons like Enigmail.
The OpenPGP nonproprietary encryption is free and lets you send encrypted messages directly from your Thunderbird account. You can also digitally sign your emails to alert your recipient that the message wasn’t modified in transit. Now, let’s take a closer look at how to get started with encryption in Mozilla’s Thunderbird.
Install the latest version of Thunderbird
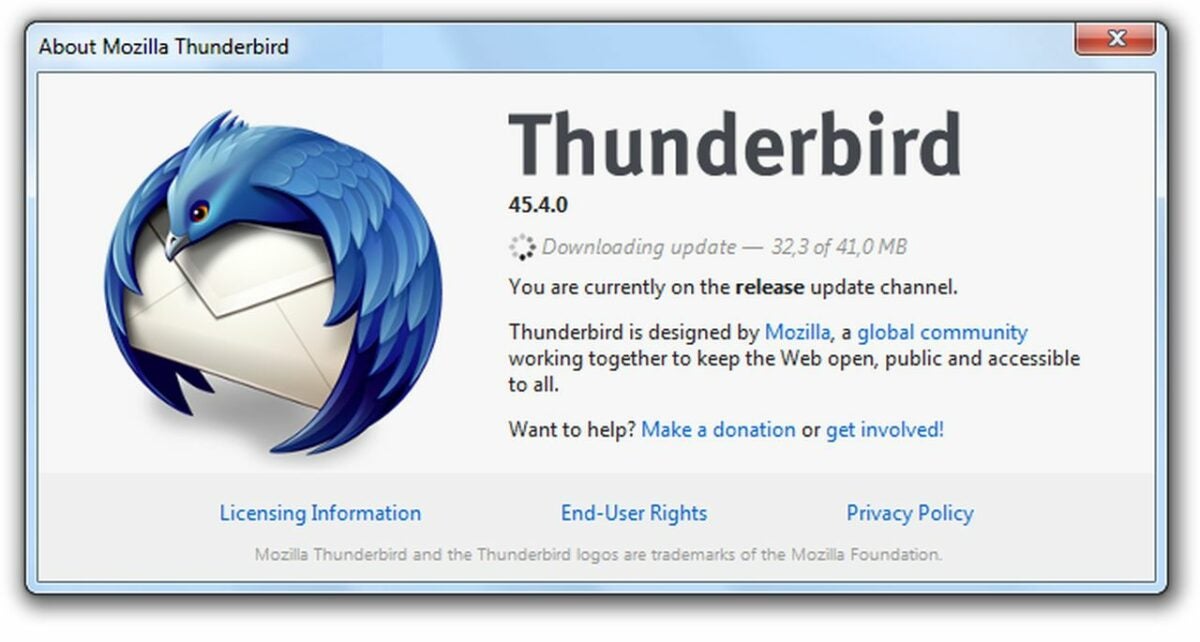
The first step is to download Thunderbird. You will need version 78.2.1 or later to access the OpenPGP encryption tool. Thunderbird works with both macOS and Windows. If you use the Ubuntu operating system, Thunderbird comes installed by default.
Set up your Thunderbird email address
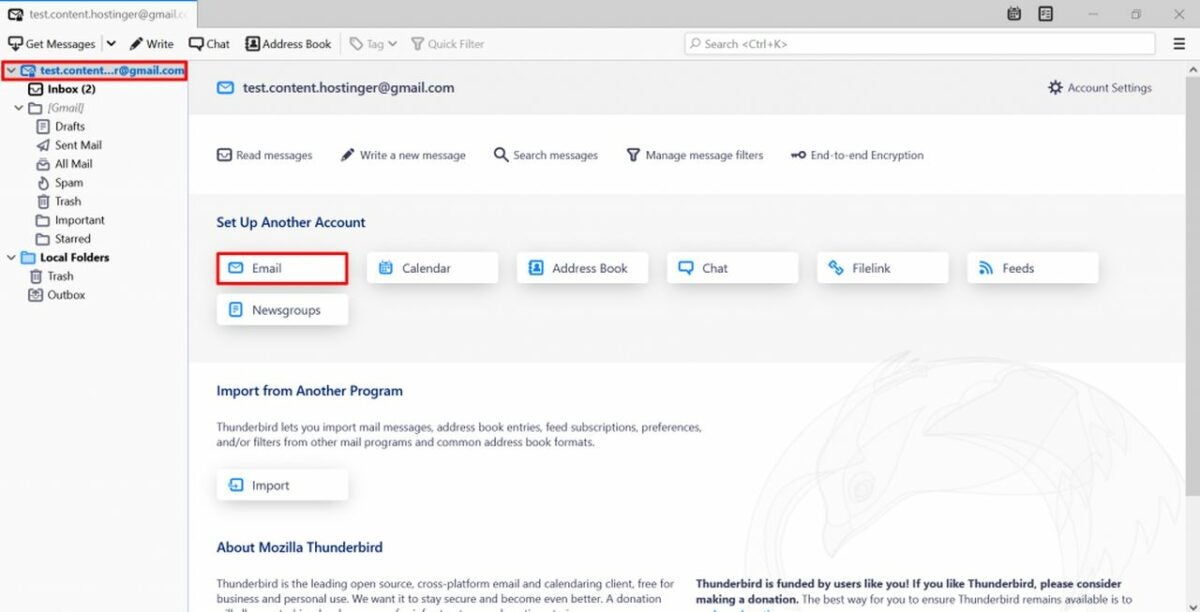
Once you’ve opened a Thunderbird email account, proceed to choose a personalized email address. This process is rather straightforward since Thunderbird walks you through each step in a series of prompts. If you have an existing Thunderbird email, you can skip this process. In that case, all you will need is your email address and password to get started.
After establishing your new email or logging in with your existing credentials, verify that the outgoing server is not set to port 25. Thunderbird blocks this port because of spam, so set your account to port 456 with SSL/TLS. Alternatively, if you have issues with port 456, try port 587 with STARTLS.
Generate a unique key pair
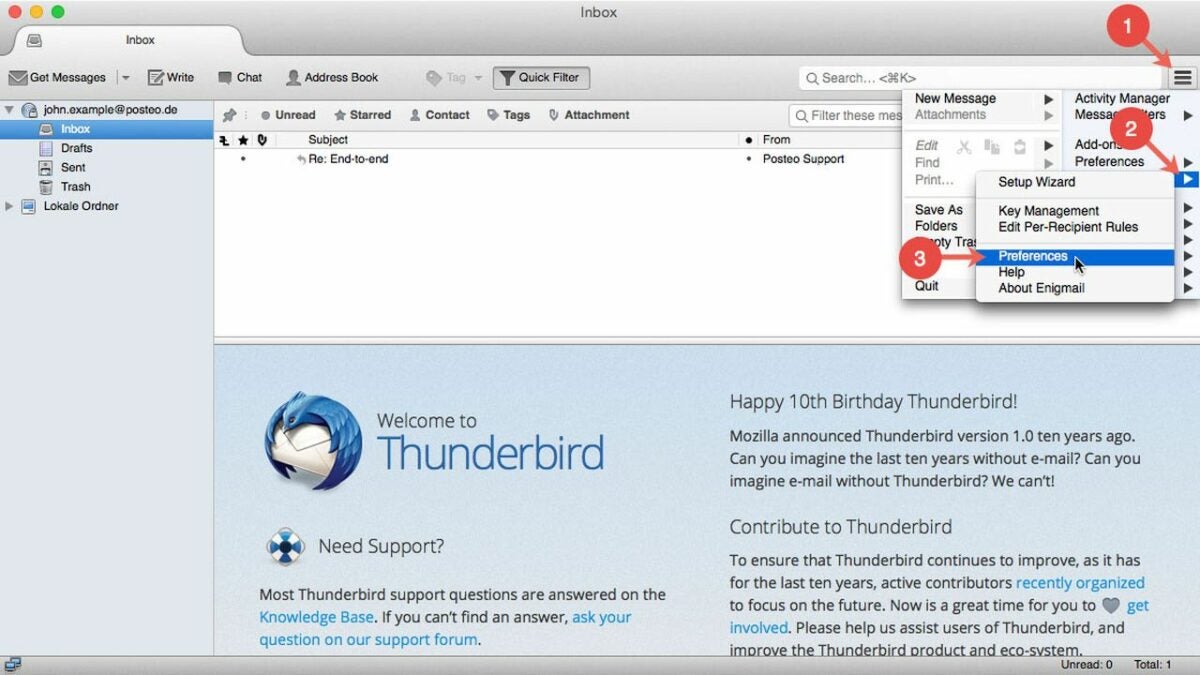
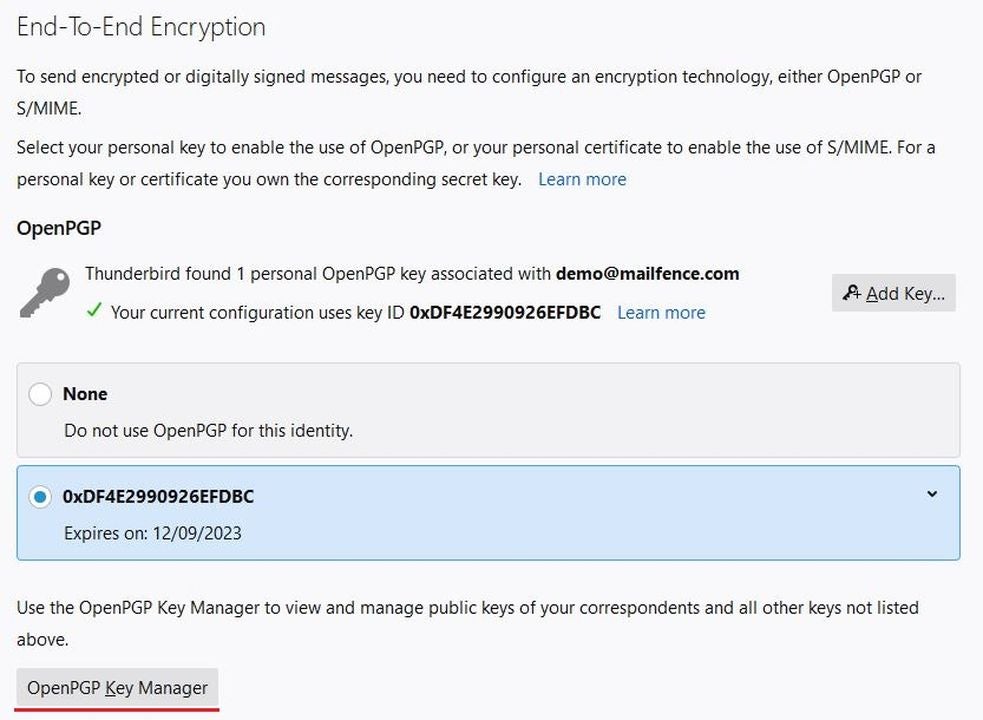
Now that you’ve opened a Thunderbird email account, you can click on the email address on the side of Folders in the side panel and open Settings. You will see End-to-End Encryption displayed in the menu. Click on this option.
Again, if you’ve already set up a key, then bypass this step. If not, you’ll see a message that reads Thunderbird does not have a personal key for your account. Alongside this prompt, you will encounter the option of adding your own key pair. Click on Add Key.
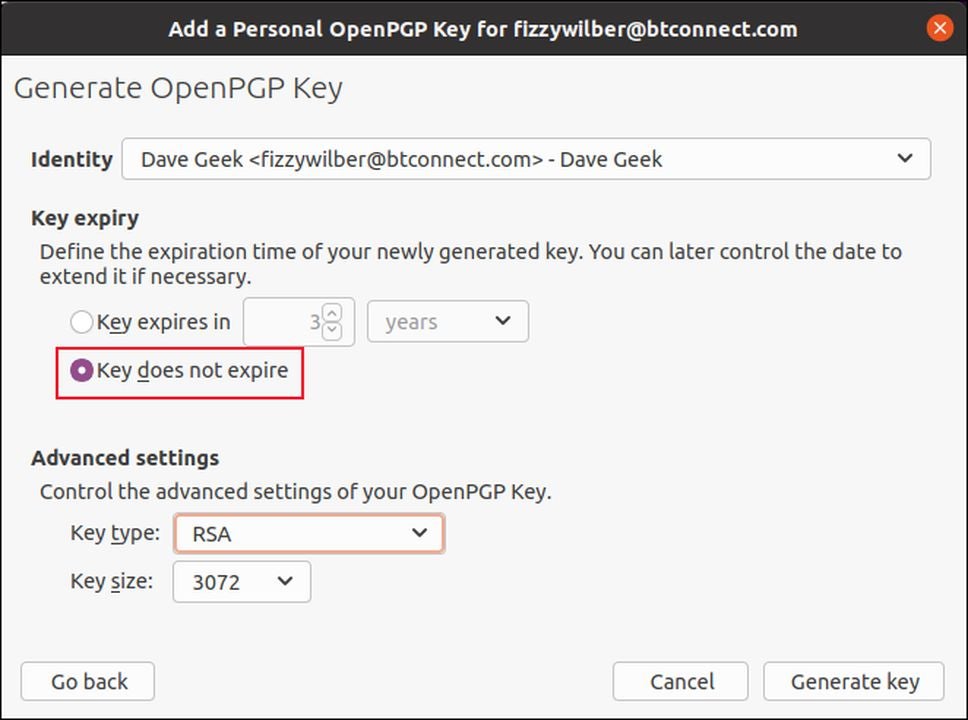
Next, confirm that Create a new OpenPGP Key is selected, and press Continue. Thunderbird does give you the option of importing an existing key if you have one. If that’s the case, you can proceed to import it at this stage of the setup. If you haven’t established one, go ahead and select the key type RSA and the key size 4096. Finally, choose Generate Key, and press Confirm. Now, wait for the Thunderbird email application to produce a unique key pair. You will see a green confirmation box indicating the key was successfully created. The new key pair automatically applies itself to your account.
Once the system generates your new personal encryption key, click Close. At this point, you’re essentially ready to start sending encrypted emails after completing these last few steps.
Configure Thunderbird to attach your public key and sign your emails automatically
If you want to ensure your outbound messages are always encrypted and attach your public key to every mailing, go to Account settings and navigate to End-to-End Encryption again. Check the Add my digital signature by default box. Now, under Advanced settings, find Attach my public key when adding an OpenPGP digital signature, and check this box.
Import your recipient’s public key
This process shouldn’t be overlooked. You need the key pair you generated in step three and your contact’s public key to send encrypted emails. Here are the procedures for importing one:
Whenever you receive a public key as an attachment, right-click on the file and choose Import OpenPGP Key. To locate publicly available keys, try searching for them by entering your recipient’s email. Find the user’s email in your inbox, and click on their address. You’ll notice a pop-up that reads Discover OpenPGP key. Click on this, and the recipient’s public key will display.
Thunderbird also lets you manually import a public key for users who display them on their websites or a key server. Companies that routinely handle sensitive information will often publish their public key so that you can deliver encrypted messages. To manually import a public key, select End-to-End encryption. Click on OpenPGP Key Manager. Locate File, and choose Import Public Keys from File. Now, you can select the OpenPGP Public Key from your device.
In the final steps, you’ll need to navigate to the Keyserver tab and choose Discover Public Keys Online. Click Okay to confirm the key’s validity and fingerprint. This completes the process of manually importing a public OpenPGP key.
Access free end-to-end encryption with Thunderbird
End-to-end encryption use is on the rise, and it’s a great way to add an extra layer of protection to your electronic communications. What’s most appealing about the Thunderbird application is that it’s free, and you don’t have to be an IT expert to set it up. For more on encryption, check out this recent article on how to use Encrypted Client Hello for a safer browsing experience on Microsoft Edge.

You may also like
 News
News'Catwoman' not only killed DC in cinema for years. It also destroyed a legendary video game studio
Read more
 News
NewsDisney stopped this adaptation of one of its best animated films. Now it has restarted it
Read more
 News
NewsGame Pass announces the first batch of games for October, including two classic RPGs and the most anticipated action game of the year
Read more
 News
NewsDwayne Johnson and Emily Blunt have a special chemistry on screen, and this classic available on Disney+ proves it
Read more
 News
NewsEA alienates its community again with an overpriced cosmetic pack, this time in skate
Read more
 News
NewsSigourney Weaver was about to not appear in one of the Alien movies, but her director prevented it
Read more